property-management-best-practices
5 Best Practices for Managing Utility Transfers

Zac Maurais
8 minutes
Managing utility transfers can save up to 30% in expenses and prevent issues like utility theft. Here’s a quick guide to streamline the process:
These steps ensure smooth transitions, reduce errors, and improve tenant satisfaction.
Practice
Key Benefit
Tools/Features to Use
Direct Links with Providers
Fewer delays, better communication
Contact database, automated notifications
Digital Tools
Improved efficiency
Clear Guidelines
Reduced interruptions
Written protocols, checklists
Tenant Access
Easier tenant setup
Online portals, smart meters
Progress Tracking
Avoid service issues
Dashboards, real-time alerts
Follow these strategies to simplify utility management and keep operations running smoothly.
Connecting directly with utility companies helps avoid delays and minimizes errors during service transitions.
Start by creating a database with key contacts and service details for providers like:
For each provider, include information such as:
This well-organized database ensures smoother transitions and supports efficient digital management.
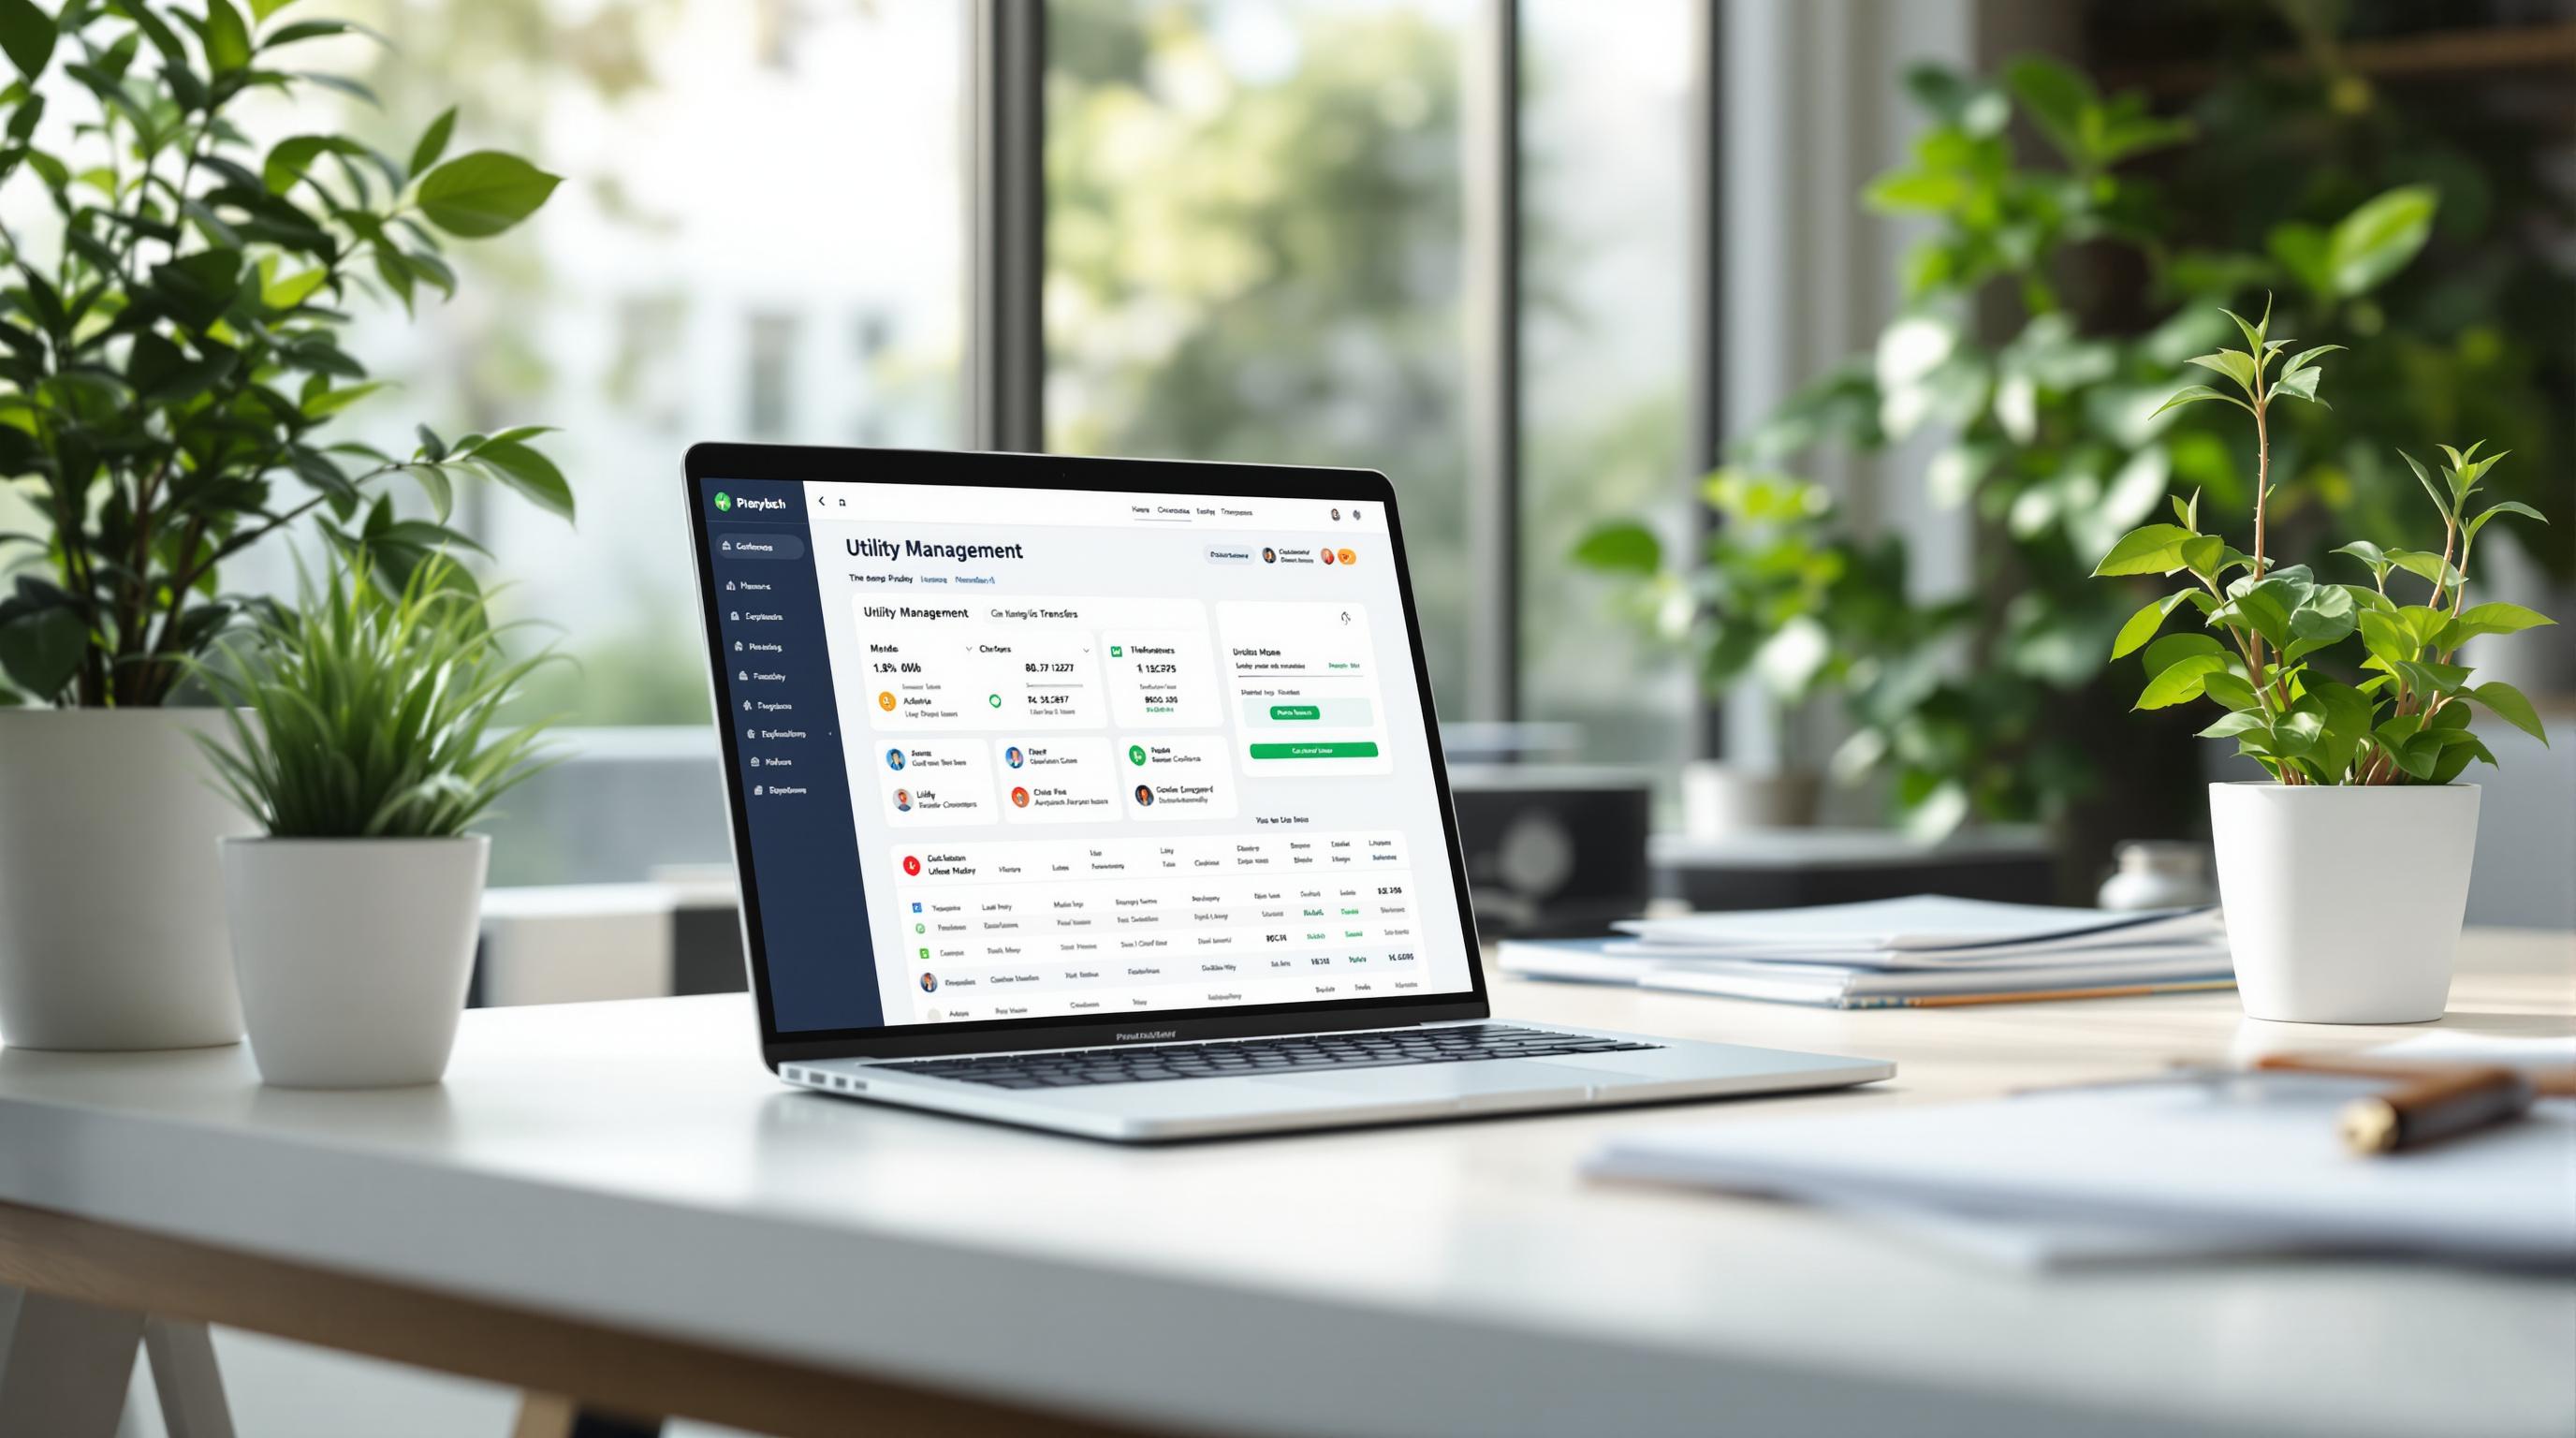
Platforms like Utility Profit can simplify the process by automating service setups, tracking transfer progress, maintaining digital records, and sending instant updates.
Keep providers informed about changes, including:
Property managers who rely on direct utility management systems report fewer communication issues and quicker service transfers [2].
Make it a habit to review and update your procedures every quarter to stay aligned with provider policies and local regulations.
Digital tools for utility management can simplify processes like transfers and improve cost recovery. Property management companies using these tools often see a 30% boost in recouped utility expenses [1].
When choosing utility management software, look for features like:
For example, platforms like Utility Profit offer tools that make managing utilities easier. Their system provides clear reporting, helping you track utility setups and get alerts when tenants activate services.
Feature Category
Must-Have Capabilities
Billing Management
Automated splits, unified billing, multiple payment options
Integration
Sync with property management and accounting software
Monitoring
Transfer tracking, usage analytics, expense tracking
Compliance
Meet federal, state, and local regulations
Security
Strong protection against fraud and chargebacks
1. Assessment and Planning
2. System Integration
3. Team Training
These tools will serve as the groundwork for establishing clear utility transfer guidelines in the next phase.
Having clear, written procedures for utility transfers is key to keeping operations smooth and tenants happy. Property managers who follow structured guidelines often face fewer service interruptions and billing issues.
Phase
Required Documentation
Key Actions
Move-Out
Final meter readings, Account closure forms
Schedule readings 48 hours before vacancy; document final bills
Interim
Property inspection checklist, Utility status report
Verify all meters are working; record current readings
Move-In
New account setup forms, Service verification
Provide utility company contacts; confirm service activation
This table can guide you in creating a detailed transfer protocol.
Keep a record of every interaction with utility providers, including dates, times, representative names, and confirmation numbers [5]. This level of detail helps resolve disputes and ensures accountability during the transfer process.
Here’s what your guidelines should include:
These steps work well alongside digital tools and direct links to utility providers, ensuring a smooth handoff.
Make sure your procedures align with current laws. For example, the California Public Utilities Commission (CPUC) highlights the importance of managing utilities properly [6]. Regularly update your guidelines to reflect any changes in local regulations or utility provider policies.
Managing properties today means embracing digital tools that make life easier for tenants and simplify utility management. Online tenant portals are a great way to bring these benefits directly to residents.
To create a tenant portal that works seamlessly, connect it with your existing property management system - like Yardi, MRI, or RealPage [9]. This ensures smooth data sharing and automates utility tasks. Think about including features such as:
Portal Feature
Benefit
Implementation
Real-time Usage Data
Lets tenants track their consumption patterns
Link smart meters to the portal
Billing History Access
Improves transparency and reduces disputes
Use APIs from utility providers
Online Payment Options
Makes timely payments easier
Offer ACH, credit cards, and auto-pay
Transfer Status Tracking
Keeps tenants updated on utility setup progress
Integrate with utility company systems
These features ensure the portal is not just functional but also user-friendly.
Choose a portal solution that covers all the bases of utility management. For example, Utility Profit’s platform includes real-time activation tracking, which removes the need for manual follow-ups.
"Tenants can access a self-serve portal to understand their billing history, consumption, and environmental impact, virtually eliminating disputes over charges." – Enertiv [9]
Tenant portals don’t just simplify billing - they also promote energy-saving habits. By offering detailed reports and real-time metrics, tenants can see their usage patterns clearly. Add paperless billing options to further reduce waste and support eco-friendly practices [8].
Enertiv helped a retail property owner recover $218,000 in water costs by fixing errors made by Conservice. This adjustment led to a $3,000,000 boost in asset value [9].
Ensure your team knows how to use the portal effectively and communicate its benefits to residents. Proper training can make utility management and bill processing much smoother [7].
After tenants gain access, keeping a close eye on utility transfers is essential to avoid service interruptions or billing problems. By using digital tools, you can make the process smoother and more reliable.
A centralized dashboard can help you stay on top of utility transfers. It provides real-time updates, tracks usage, stores transfer confirmations, and offers a clear view of the overall progress.
Feature
Purpose
Benefits
Real-time Alerts
Updates managers on status changes
Flags issues before they affect tenants
Usage Monitoring
Tracks consumption patterns
Detects unusual activity or problems
Documentation Hub
Stores transfer confirmations
Keeps a clear audit trail
Status Dashboard
Shows all transfers in one place
Simplifies management across properties
This streamlined system ensures you’re always aware of what’s happening with your utility transfers.
Start planning 2–4 weeks before tenants move in. Collect account numbers, provider information, and confirm transfer dates. Schedule meter readings and make sure services are activated on time.
Most utility providers offer online tools to help you manage transfers. These platforms allow you to monitor progress, set reminders, access digital confirmations, and track usage across multiple units [5]. Keeping detailed records is key for ensuring everything runs smoothly.
Keep thorough records, including timestamps, representative names, confirmation numbers, final meter readings, and activation dates. These details are crucial for verifying the status of each transfer [5].
Tools like Utility Profit can integrate with your system to provide real-time updates, cutting down on the need for manual checks. This saves time and ensures nothing falls through the cracks.
Handling utility transfers effectively requires a well-organized approach to reduce mistakes and improve workflows. The roadmap below outlines steps to achieve smoother operations.
Phase
Timeframe
Key Actions
Expected Outcomes
Initial Setup
2-3 weeks
Build relationships with utility providers, create contact lists
Clear communication channels
Digital Integration
1 month
Install utility management software, set up tracking systems
Automated processes
Process Documentation
2 weeks
Develop transfer guidelines, create tenant resources
Consistent procedures
Tenant Portal
2-4 weeks
Configure online access, test user interface
Self-service functionality
Monitoring System
1-2 weeks
Set up tracking dashboards, establish verification schedules
Real-time monitoring
This timeline highlights how each step contributes to better utility transfer management.
Property managers who adopt integrated utility systems like Utility Profit can achieve smoother operations. The steps outlined above - timely communication with providers and thorough documentation - are critical for success.
Key actions for property managers include:
"Ensuring the right people are involved and communicated with at the right time are key factors in any successful change." - PFES [10]
Using platforms like Utility Profit alongside property management software allows for real-time tracking and increased revenue opportunities. Combining these tools transforms utility transfers into a smooth, hassle-free process.
See how Utility Profit works in 1 minute


